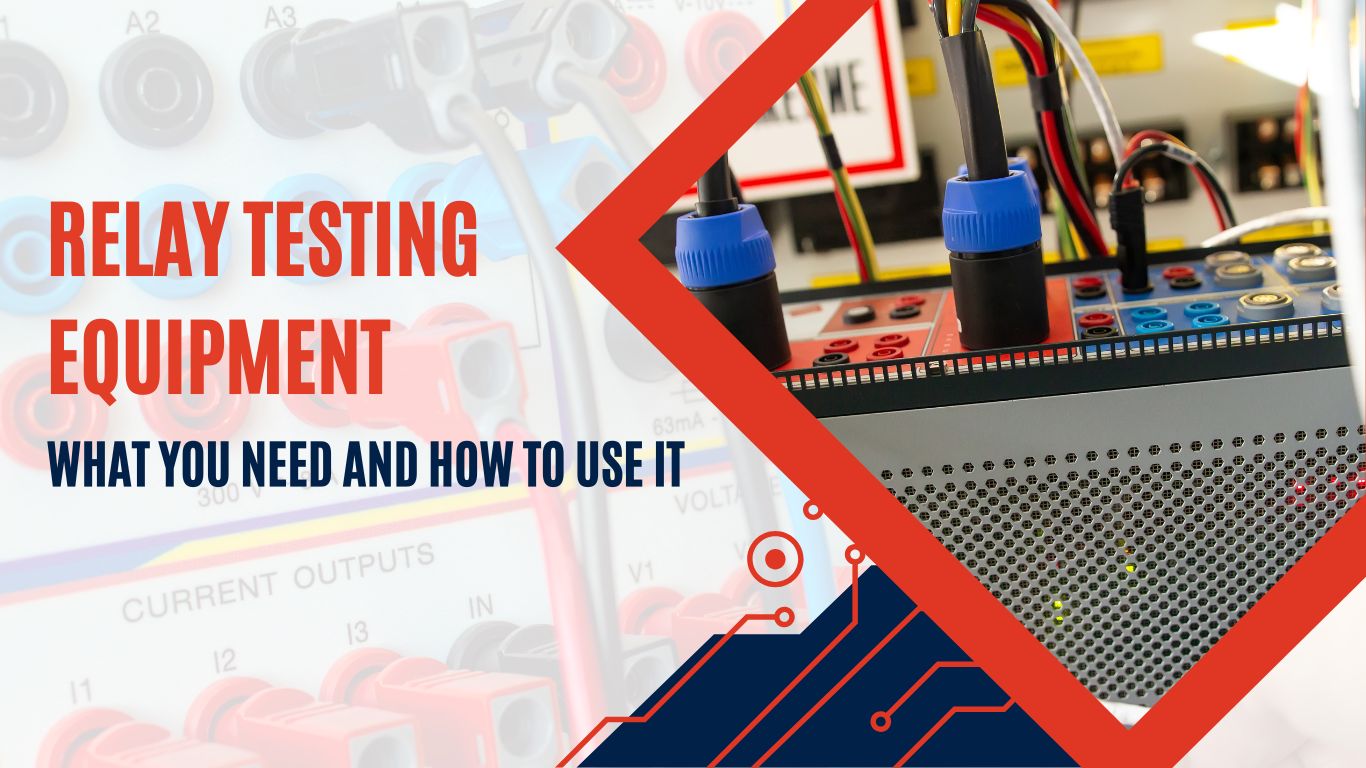
How to Test a Relay: Tools, Tips, and Troubleshooting
Quick Summary
- Understanding how to test a relay and how to confirm if it’s working correctly.
- Best practices for testing a relay with or without tools.
- The best way to troubleshoot relays is to make sure you properly detect the problem.
Relays are an important part of many different electrical and electronic systems. They function as switches that help you maintain critical systems like switchgear and motor control centers. Learning how to test relay devices—whether in industrial switchgear or automotive circuits—can save you downtime and prevent failures.
In this guide, you’ll learn methods like how to test a relay with a multimeter, how to test a relay with a voltmeter, and how to test a relay without a multimeter.
What Is a Relay and How Does It Work?
Before diving into how to test a relay, it’s important to understand how relays work. A standard relay includes an electromagnet, an armature, a return spring, and electrical contacts. When current flows through the coil, it creates a magnetic field that moves the armature, either opening or closing the contacts to control another circuit.
The 3 most common types of relays are:
- Electromechanical Relays (EMRs)
- Solid State Relays (SSRs)
- Reed Relays
Discover more about relays, such as electrical relays, and make the right choice.
Using a Multimeter to Diagnose Relay Issues
One of the most reliable ways to test relays is with a multimeter. When looking at the question of how to test a relay with a multimeter, there are 2 ways in which the multimeter can be used.
- How to test a relay with multimeter- Resistance
The first step in how to test relays with a multimeter is to check the resistance. You can do this by simply connecting the multimeter’s leads to the relay’s coil terminals.
Coil resistance varies widely by model and voltage. Always consult the manufacturer’s datasheet for the specific relay you are testing to get the correct ohmic value.
It’s important to note that you must set the range meter before performing this test for a manual multimeter. You can set the range to the minimum amount.
- Testing relay with multimeter- Continuity
The second way is to test for continuity in the relay. To perform this test, you will need to test the continuity between the common(COM) terminal and the normally closed(NC) terminal, and the continuity between the COM terminal and the normally open(NO) terminal.
Both of these tests are pretty simple. All you need to do is connect the multimeter’s leads to the 2 terminals you are testing and see if the multimeter buzzes. Buzzing will mean that the relay is working fine and has no problems. If either of the connections doesn’t buzz, it means you are dealing with a bad relay.
Thus, this step is essential if you suspect a fault and want to confirm how to test a bad relay.
Alternative Ways of Testing Relays
While multimeters are great at testing relays, they are not the only instruments you can use.
- How to test relays with a voltmeter
If you’re wondering how to test relays with a voltmeter, the process is similar to multimeter testing. It allows you to verify voltage across the contacts and ensure switching happens as expected.
- How to Test a Relay with a Voltmeter
Similar to above but more focused on real-time voltage readings.
- Dedicated Relay Testers
If you’re serious about testing a relay, a dedicated relay tester can save you time. If you’re someone who doesn’t enjoy the manual side of relay testing, you might even want to learn how to make a relay tester for ease.
- Testing Solid State Relays (SSRs)
You can apply the input test or the output test to test SSRs. For the input test, you will simply apply a voltage to the relay and see if the output side responds appropriately. For the output test, you will check either the voltage through the voltmeter or check for continuity.
Testing Different Relay Types:
1. Testing a Phase Monitoring Relay
Phase monitoring relays are used to detect phase faliure, phase imbalance, or phase reversal in three-phase systems. Proper testing ensures the relay accurately monitors the system’s phase conditions.
- Coil Resistance and Input Voltage: Ensure that the coil resistance is in accordance with the manufacturer’s datasheet. Test the input voltage to confirm that it’s within the specified range.
- Simulate Phase Imbalance or Failure: Disconnect one phase to check if the relay reacts appropriately by cutting off power or activating an alarm.
- Verify Switching Action: When the phase conditions (imbalance, failure, or reversal) occur, ensure the relay operates and opens/closes the contacts as expected.
2. Testing an Overload Relay
Overload relays are designed to protect motors and other equipment from overheating by disconnecting the power if the current exceeds a safe limit.
- Coil Resistance: Measure the resistance of the relay’s coil with a multimeter to verify it’s within the specified range from the datasheet.
- Test Overload Condition: Simulate an overload by applying a current higher than the rated value. Check if the relay trips and opens the contact to prevent damage to the equipment.
- Verify Resetting: Ensure the relay resets properly after a trip, either manually or automatically, depending on the model.
3. Testing a Timer Relay
Timer relays are used to delay or control the timing of a circuit, allowing you to delay switching or start/stop actions at specific intervals.
- Verify Time Settings and Input Voltage: Ensure that the timer relay’s voltage and time delay settings are correct as per the application needs.
- Time Delay Check: Confirm that the relay activates after the configured delay time, and test at different time settings if adjustable.
- Measure Voltage Across Contacts: Check the voltage across the contacts during both energized and de-energized states to ensure it aligns with the expected range.
4. Automative Relay
Learn how to test a starter relay and how to test a relay fuse.
5. Appliance Relays
Understand how to test a start relay in compressors or refrigerators.
Tips for Relay Testing
Here are some practical tips when performing relay testing:
- Apply the correct voltage: You should always make sure the voltage you are applying to your relay is appropriate, as providing higher voltage can cause even more harm to your relay.
- Label wires: It’s a good idea to label the wires you use, as it makes your life much easier.
- Perform multiple tests: If you’re unsure how do I test a relay, repeating tests helps rule out false results.
- Keep records of what you record: Records can come in handy down the line, as you can compare the results of multiple tests with each other. Any discrepancy can then tell you if there might be an error in the relay.
- Be familiar with specialized types: Devices like an under voltage relay or a plug in relay may have unique test procedures outlined by the manufacturer. Always refer to the relay’s datasheet for model-specific guidelines.
The Critical Role of Relay Testing in Switchgear Maintenance and Uptime
Relay testing isn’t just a routine check. It plays a vital role in industrial safety and operational reliability. In environments where LV/MV switchgear and electrical control panels are at the heart of daily operations, one overlooked relay test could mean circuit failure, equipment damage, or even fire.
If you want to know how to check relay health, look for:
- No clicking sound when powered.
- Contacts not switching.
- Intermittent operation.
- Stuck or burned contacts.
That’s why at Go Switchgear, we treat testing a relay as a frontline maintenance step against unexpected downtime, equipment damage, and safety risks. By making sure that each relay functions correctly under real-world load conditions, you are safeguarding your power distribution infrastructure. This is where expert insight and quality components make all the difference.
Discover more about relays at the control relay.
Common Failure Modes and Troubleshooting Chart
To fix a problem, it’s crucial that you are able to detect the problem. For relays, understanding how to test a bad relay is half the solution. Different relays require different forms of tests and different approaches, like how to test a starter relay in motor control or how to test a relay fuse in automotive systems.
With all that said, here are different ways in which you can troubleshoot your relays:
1. No Clicking Sound When Powered:
- Check the coil resistance with a multimeter.
- Confirm your power supply is delivering the correct voltage.
- Look for mechanical faults or burn marks.
2. Switching Doesn’t Occur:
- The internal contacts might be worn or broken.
- Ensure the coil is receiving sufficient voltage.
3. Unreliable or Intermittent Operation:
- This could be due to environmental factors like heat or vibration.
- Try testing the relay under similar operating conditions.
4. Relay Is Stuck:
- Internal contacts may have fused together.
- The moving parts could be obstructed.
5. Damaged or Burned Contacts:
- This often results from frequent high-current switching.
- Replace the relay if contact damage is visible.
Encountering frequent relay failures? It may be a sign of a larger system design issue. Our engineers can help diagnose your control panel and recommend a robust solution.
Preventing Future Issues
The best approach to dealing with relay issues is knowing how to check the relay before it fails. Obviously, it is virtually impossible to ensure that there is no error at all, but you can do your best to limit the chance of an error occurring in a relay.
Routine test relay procedures reduce the risk of failure. Install surge protection, replace worn parts, and perform scheduled in your maintenance plan.
Components like flyback diodes and snubbers can also help keep your relays free from problems. You also want to regularly replace old parts or parts that might not be working as they used to when they were first installed in the relay.
Installing the right protection relay can help you deal with relay issues more efficiently.
Conclusion
From how to test a relay with a multimeter to quick how to test a relay without a multimeter checks, mastering these skills keeps systems running. Whether you’re learning how to test a relay fuse in a car or how to test a relay using a multimeter in a control panel, consistent practice ensures accuracy.
If you are looking to buy relays (UVR, OVR) in Dubai, UAE, make sure you check out our website for some great options. You can check out relays for process control applications and buy quality relays online on our site!
Specify the Right Relay for Your Application. Browse Our Industrial Relay Catalogue
FAQ’s
Q. What is the most common problem in relays?
The most common problem is burned or worn-out contacts, coil failure, or internal mechanical sticking. These issues can be identified by testing a relay properly, such as how to test a bad relay using a multimeter or other tools.
Q. Is it possible to check a relay without any tools?
Yes, you can check for clicking sounds when the relay is active, which is a simple way of how to test a relay without a multimeter or any specialized instrument. However, this method isn’t always reliable. Using tools like a multimeter or voltmeter is recommended for accurate results when testing relay devices.
Q. Is it safe to use any voltage when testing a relay?
No, applying voltage higher than the relay’s rated specification can cause damage. Always follow guidelines when testing a relay with a battery or any other power source. Avoid using excessively high voltages to ensure safety and prevent relay failure.


Leave a Reply